Difference between revisions of "Teams Winter 2011/team1/OSGI/Implement the Service Provider"
(→2. Implement the Service Provider) |
(→2. Implement the Service Provider) |
||
| Line 2: | Line 2: | ||
'''2.1. Create the provider bundle''' | '''2.1. Create the provider bundle''' | ||
: The process of creating the bundle is almost the same as interface bundle. Here we just need an activator to register the bundle. So, when creating the new plug-in project, make sure to leave the Activator checked: | : The process of creating the bundle is almost the same as interface bundle. Here we just need an activator to register the bundle. So, when creating the new plug-in project, make sure to leave the Activator checked: | ||
| − | :[[Image: createProvider.jpg | | + | :[[Image: createProvider.jpg | 700px]] |
'''2.2. Register the service in the class Activator''' | '''2.2. Register the service in the class Activator''' | ||
| Line 13: | Line 13: | ||
:[[Image: providerImport1.jpg | 700px]] | :[[Image: providerImport1.jpg | 700px]] | ||
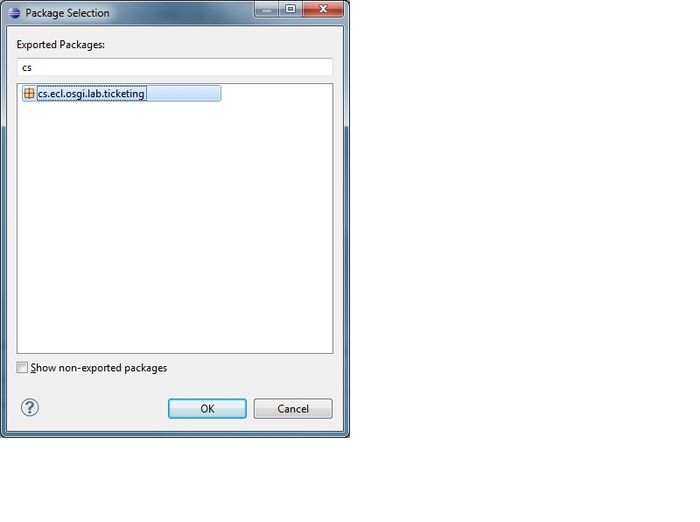
: Type in the name of the package of your interface. After it was selected click ok: | : Type in the name of the package of your interface. After it was selected click ok: | ||
| − | :[[Image: providerImport2.jpg | | + | :[[Image: providerImport2.jpg | 700px]] |
'''2.3. Install and run the Service Provider Bundle''' | '''2.3. Install and run the Service Provider Bundle''' | ||
| Line 20: | Line 20: | ||
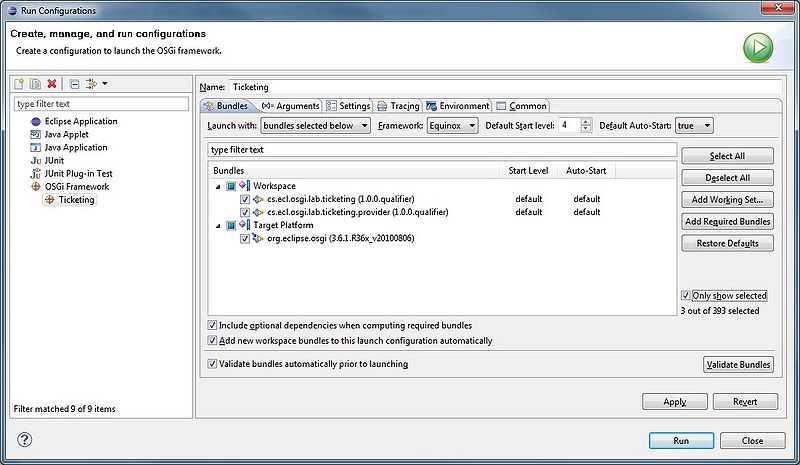
: In the ''Workspace'', check the interface bundle and the provider bundle. | : In the ''Workspace'', check the interface bundle and the provider bundle. | ||
: Uncheck the ''Target Platform'' and click on ''Add Required Bundles'', then check the ''Only show selected''. | : Uncheck the ''Target Platform'' and click on ''Add Required Bundles'', then check the ''Only show selected''. | ||
| − | :[[Image: providerRun1.jpg | | + | :[[Image: providerRun1.jpg | 800px]] |
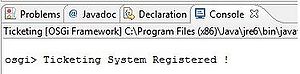
: After you made sure configuration is fine, click on ''Run'', you should see this message on the console (for this application): | : After you made sure configuration is fine, click on ''Run'', you should see this message on the console (for this application): | ||
| − | :[[Image: providerRun2.jpg | | + | :[[Image: providerRun2.jpg | 300px]] |
Revision as of 20:38, 13 February 2011
2. Implement the Service Provider
2.1. Create the provider bundle
- The process of creating the bundle is almost the same as interface bundle. Here we just need an activator to register the bundle. So, when creating the new plug-in project, make sure to leave the Activator checked:


2.2. Register the service in the class Activator
- Here is the implementation of the Activator class for registering the service:


2.2. Define the MANIFEST.MF for the service provider bundle.
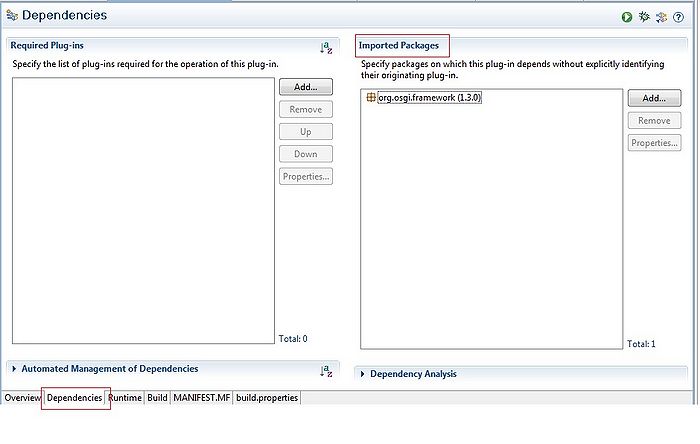
- In the manifest that is created during the process of creating the bundle, we need to import the service package.
- Click on the MANIFEST.MF - > select the Dependencies tab -> click on Add to import a package:
- Type in the name of the package of your interface. After it was selected click ok:


2.3. Install and run the Service Provider Bundle
- Right click on MAINFEST.MF of the Provider, and go to Run A - > Run Configuration
- Right click on OSGI Framework and click on New.
- In the Workspace, check the interface bundle and the provider bundle.
- Uncheck the Target Platform and click on Add Required Bundles, then check the Only show selected.
- After you made sure configuration is fine, click on Run, you should see this message on the console (for this application):