Your First OSGi Bundle Using Eclipse/Equinox
Your First OSGi Bundle in Eclipse
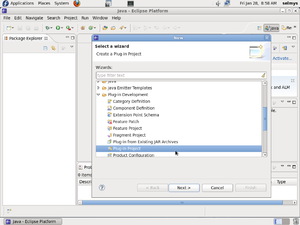
First, start in the Java perspective and select a new Plug-in Project.
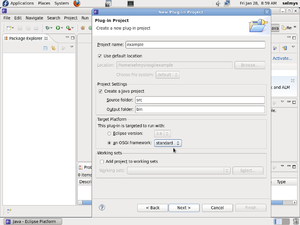
Give a name to your project and check OSGi standard framework.
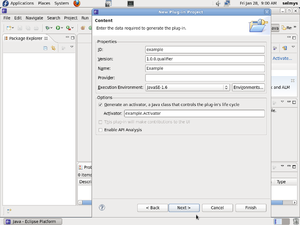
In the Content window just click Next.
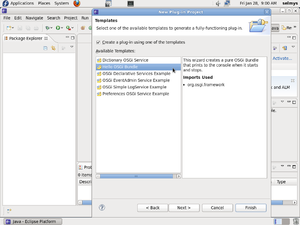
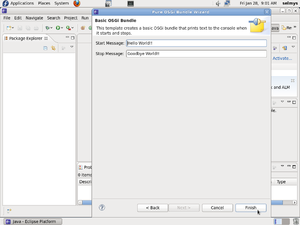
In the Template window select Hello OSGi Bundle and click Next.
You can make changes to the Start/Stop messages and click Finish.
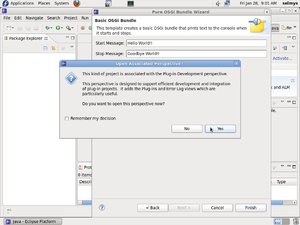
Switch to the Plug-in perspective by clicking Yes.
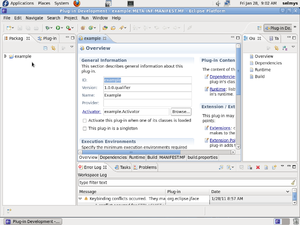
You now see your project overview in the edit window.
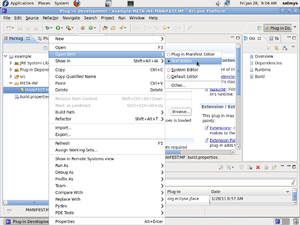
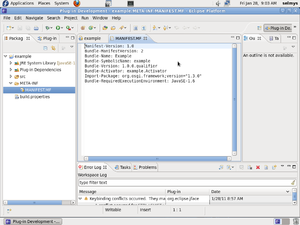
For a different view of the manifest, open it with the editor.
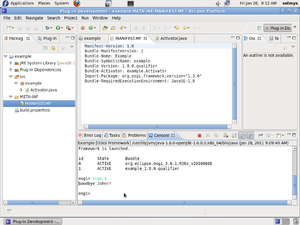
The manifest in text for looks like this.
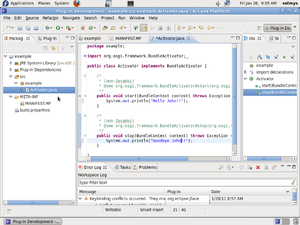
Use the editor to make changes to the Activator.java program.
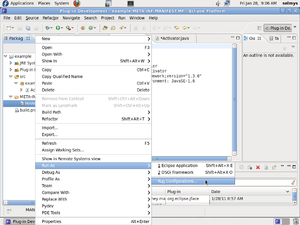
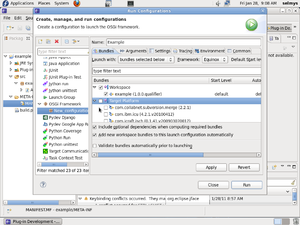
Right click on the MANIFEST.MF tag in the Package window and select Run As followed by Run Configurations.
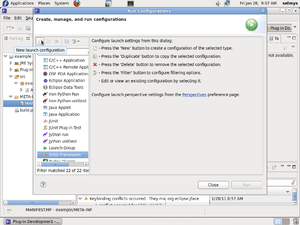
Click on the New launch configuration icon at the top left.
Give your bundle a name and uncheck Target Platform and click Apply followed by Run.
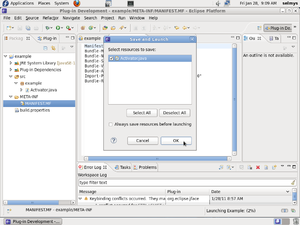
Be sure to save your work first.
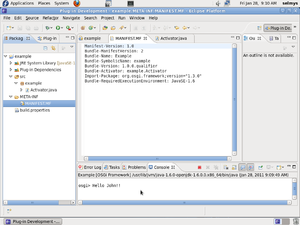
In the Console window you can see your bundle running.
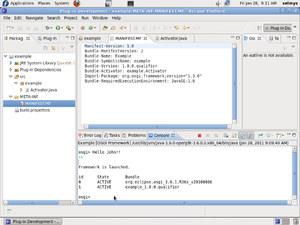
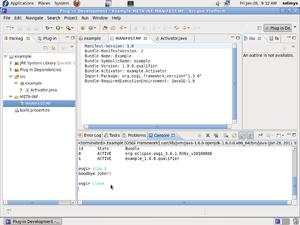
Type 'ss' in the console window.
Type 'stop 1' in the console window.
Type 'close' in the console window.
Congratulations! You've just run your first OSGi Bundle using Eclipse.
