Teams Winter 2011/team1/OSGI/Create the Service Interface
1. Create the Service Interface
- First thing to do in building an OSGI application is to define the service interface so that the developer who creates the GUI part of application knows what services will be available, and what are their requirements and outcome.In order to do this please follow these steps:
1.1. Create the interface bundle
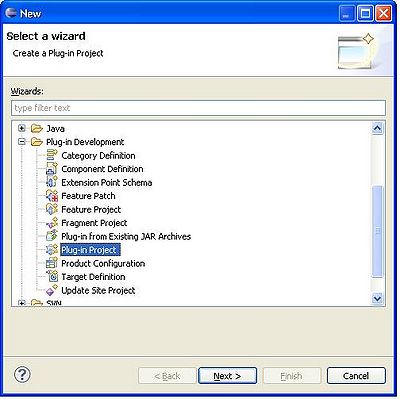
- Create a new Plug-in project in eclipse using File>New> Plug-in Project:
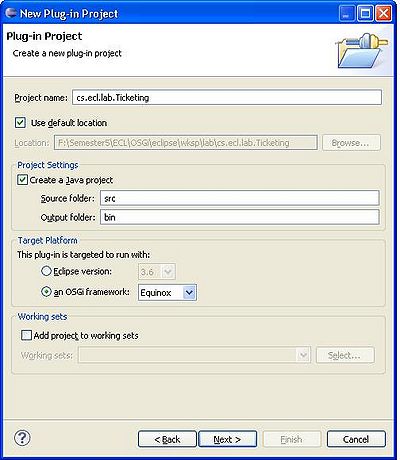
- Give it a proper name and Choose the target platform to be an OSGI platform:
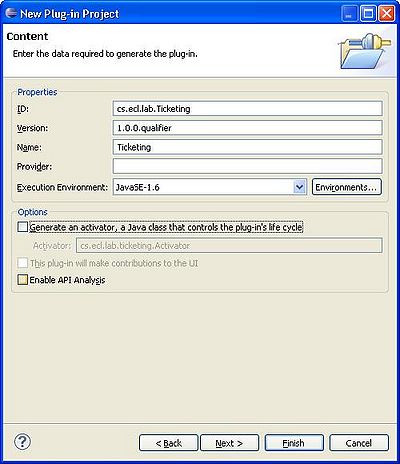
- Make sure you check off the , so that no Activator class is created in the project (this bundel is just interfaces so it does not run).


1.2. Create Interfaces
Add a package to the src folder in your project.Then Add following items to your package:
- A Java class named BusRoute.
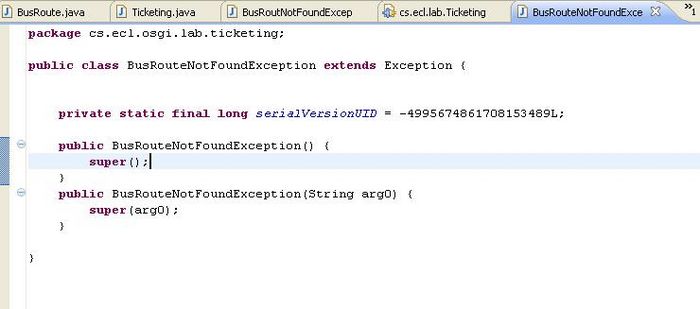
- A Java class named BusRouteNotFoundException which extends java.lang.Exceptions class.
- A Java class named InvalidNumberOfSeatsException which extends java.lang.Exception class.
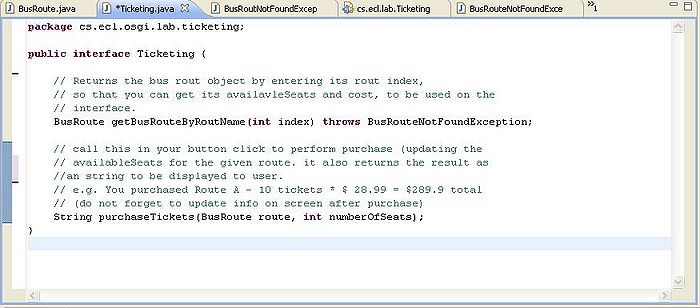
- An Interface named Ticketing

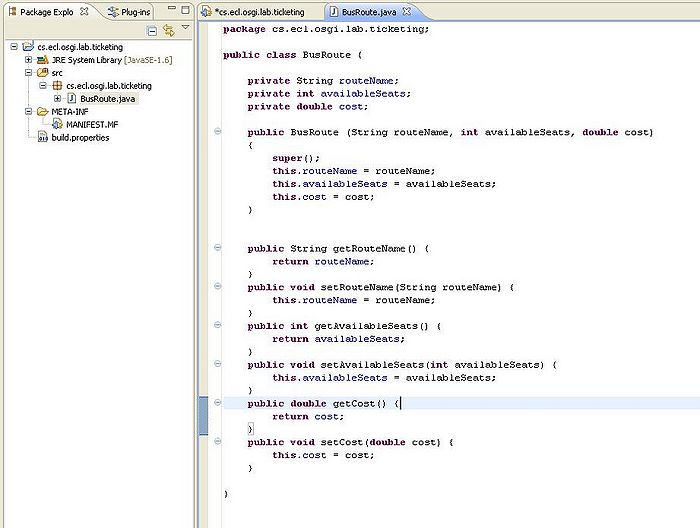
- Enter the code for the classes and the interface as per the following screen-shots:
- BusRout Class:
- BusRoutNotFoundException Class:
- InvalidNumberOfSeatsException Class:

- Ticketing Interface:


1.3. Export Package
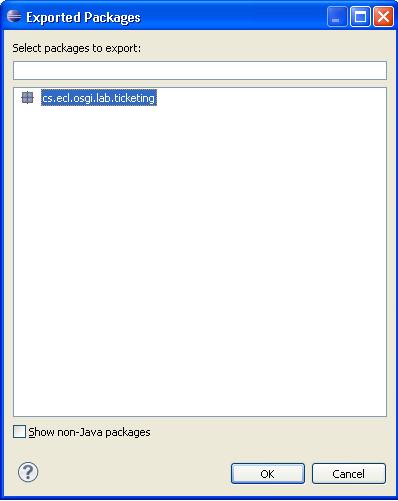
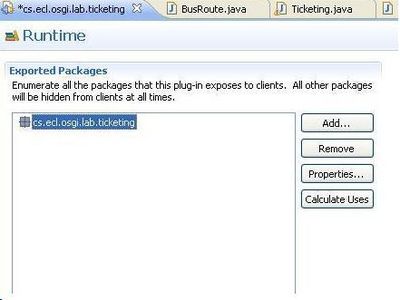
- In order to be able to register our service we need to export our package in the interface bundle. To do so, select MANIFEST.MF in the package explored and then brows to the Runtime tab.Click on "Add" in Exported Packages section.

- Select the Ticketing package and press Ok button.


- The Interface is Exported and now it's time to build the service implementation project where you add all the implementations of the interface and register it at run time.