Difference between revisions of "Export Your OSGi Bundle"
(→Export) |
(→Export Your OSGi Bundle) |
||
| Line 1: | Line 1: | ||
== Export Your OSGi Bundle == | == Export Your OSGi Bundle == | ||
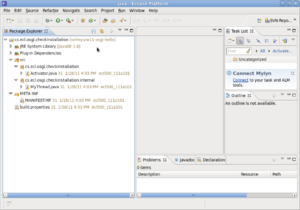
| − | + | First, start with the OSGi project you wish to bundle. | |
| − | First, | ||
[[Image:bundle-1.png|left|thumb]]<br style="clear:left;" /> | [[Image:bundle-1.png|left|thumb]]<br style="clear:left;" /> | ||
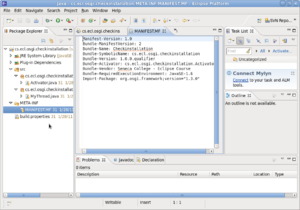
| − | + | Check the manifest by viewing it in your editor. | |
[[Image:bundle-2.png|left|thumb]]<br style="clear:left;" /> | [[Image:bundle-2.png|left|thumb]]<br style="clear:left;" /> | ||
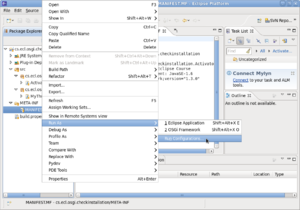
| − | + | Select Run As -> Run Configurations ... | |
[[Image:bundle-3.png|left|thumb]]<br style="clear:left;" /> | [[Image:bundle-3.png|left|thumb]]<br style="clear:left;" /> | ||
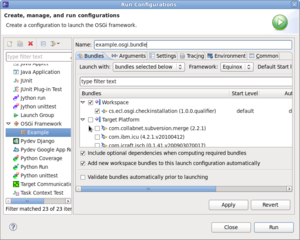
| − | + | Give your configuration a name, and deselect Target Platform - leaving only your project. Now click Apply followed by Run. | |
[[Image:bundle-4.png|left|thumb]]<br style="clear:left;" /> | [[Image:bundle-4.png|left|thumb]]<br style="clear:left;" /> | ||
| − | + | In the Console window you can see your bundle running. | |
[[Image:bundle-5.png|left|thumb]]<br style="clear:left;" /> | [[Image:bundle-5.png|left|thumb]]<br style="clear:left;" /> | ||
| − | + | Type 'ss' inside the Console window to see the ID of your bundle. | |
[[Image:bundle-6.png|left|thumb]]<br style="clear:left;" /> | [[Image:bundle-6.png|left|thumb]]<br style="clear:left;" /> | ||
| − | + | Use the 'stop' command to stop your bundle. Then click the red square just above the Console window to stop the execution environment. | |
[[Image:bundle-7.png|left|thumb]]<br style="clear:left;" /> | [[Image:bundle-7.png|left|thumb]]<br style="clear:left;" /> | ||
| + | Now click on the File menu and select Export. | ||
| + | [[Image:bundle-11.png|left|thumb]]<br style="clear:left;" /> | ||
| + | Select Plug-in Development -> Deployable plug-ins and fragments. | ||
| + | [[Image:bundle-12.png|left|thumb]]<br style="clear:left;" /> | ||
| + | Select the project to export and give the directory name on your local file system that will hold your OSGi bundle. Then check the Options tab. | ||
| + | [[Image:bundle-13.png|left|thumb]]<br style="clear:left;" /> | ||
| + | Uncheck Export Source (if necessary) and then click Finish. | ||
| + | [[Image:bundle-14.png|left|thumb]]<br style="clear:left;" /> | ||
| + | Open a terminal window and verify that your bundle was saved. | ||
| + | [[Image:bundle-15.png|left|thumb]]<br style="clear:left;" /> | ||
'''Congratulations!''' You've just exported your OSGi bundle onto your local file system. | '''Congratulations!''' You've just exported your OSGi bundle onto your local file system. | ||
Revision as of 13:38, 30 January 2011
Export Your OSGi Bundle
First, start with the OSGi project you wish to bundle.
Check the manifest by viewing it in your editor.
Select Run As -> Run Configurations ...
Give your configuration a name, and deselect Target Platform - leaving only your project. Now click Apply followed by Run.
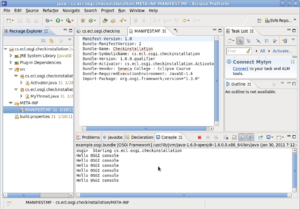
In the Console window you can see your bundle running.
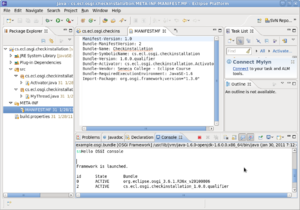
Type 'ss' inside the Console window to see the ID of your bundle.
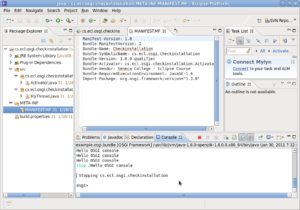
Use the 'stop' command to stop your bundle. Then click the red square just above the Console window to stop the execution environment.
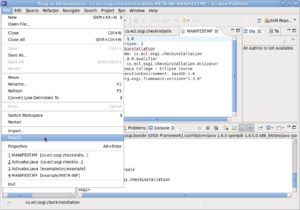
Now click on the File menu and select Export.
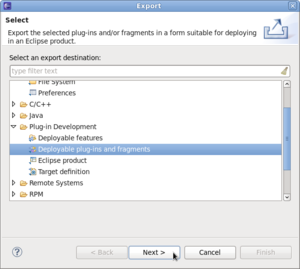
Select Plug-in Development -> Deployable plug-ins and fragments.
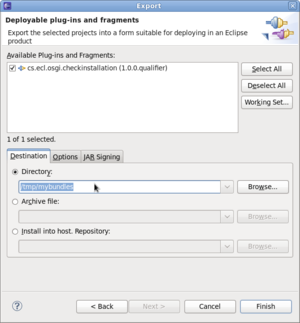
Select the project to export and give the directory name on your local file system that will hold your OSGi bundle. Then check the Options tab.
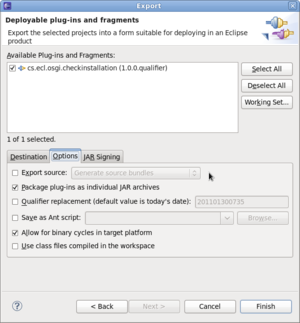
Uncheck Export Source (if necessary) and then click Finish.
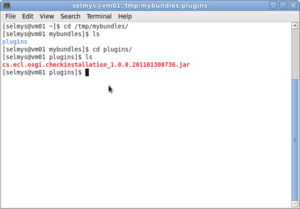
Open a terminal window and verify that your bundle was saved.
Congratulations! You've just exported your OSGi bundle onto your local file system.
